Showing posts with label Master Bedroom. Show all posts

January 4, 2011

Inspiration Board

One of my resolutions this year is to start an inspiration board, something I can visually set my eyes on every single day. I am thinking about placing it in my bedroom so I can see it at the beginning and end of my day.

I plan on going large like Kevin Sharkey’s…
I love that it is in the inside of his shoe closet!


What do you look to for inspiration every day?


images via Martha Stewart and unknown

December 29, 2010

Red Drama

I have a dresser that almost looks identical to the one below...I would love to be brave enough to paint it red, but alas going the white route. I might be brave enough to paint it a beautiful turquoise blue...It will be one of the last pieces for my master bedroom...Yeah!


My dresser before...


December 26, 2010

Baughman Love!

Milo Baughman is one of my favorite 20th century modern furniture designers.
His designs are clean, modern, and still classic to this day! He designed for several furniture companies, but is most well-known for his partnership with Thayer Coggin from 1953 until 2003. I especially love his furniture pieces in burled wood and chrome…to die for!
 LOVE the chrome & burled wood!

Yummy lacquered orange!

My future dining room table...


Velvet beauties!


This would look so good in our game room!

Need these for the kitchen!

Perfect...


Love the Baughman swivel chairs...can't wait to reupholster mine!


December 21, 2010

Master Bedroom Blanc de Chine Lamps Part 2

I finally finished my master bedroom Blanc de Chine lamps! They look so gorgeous! Here are the steps I used so that you can recreate your own…

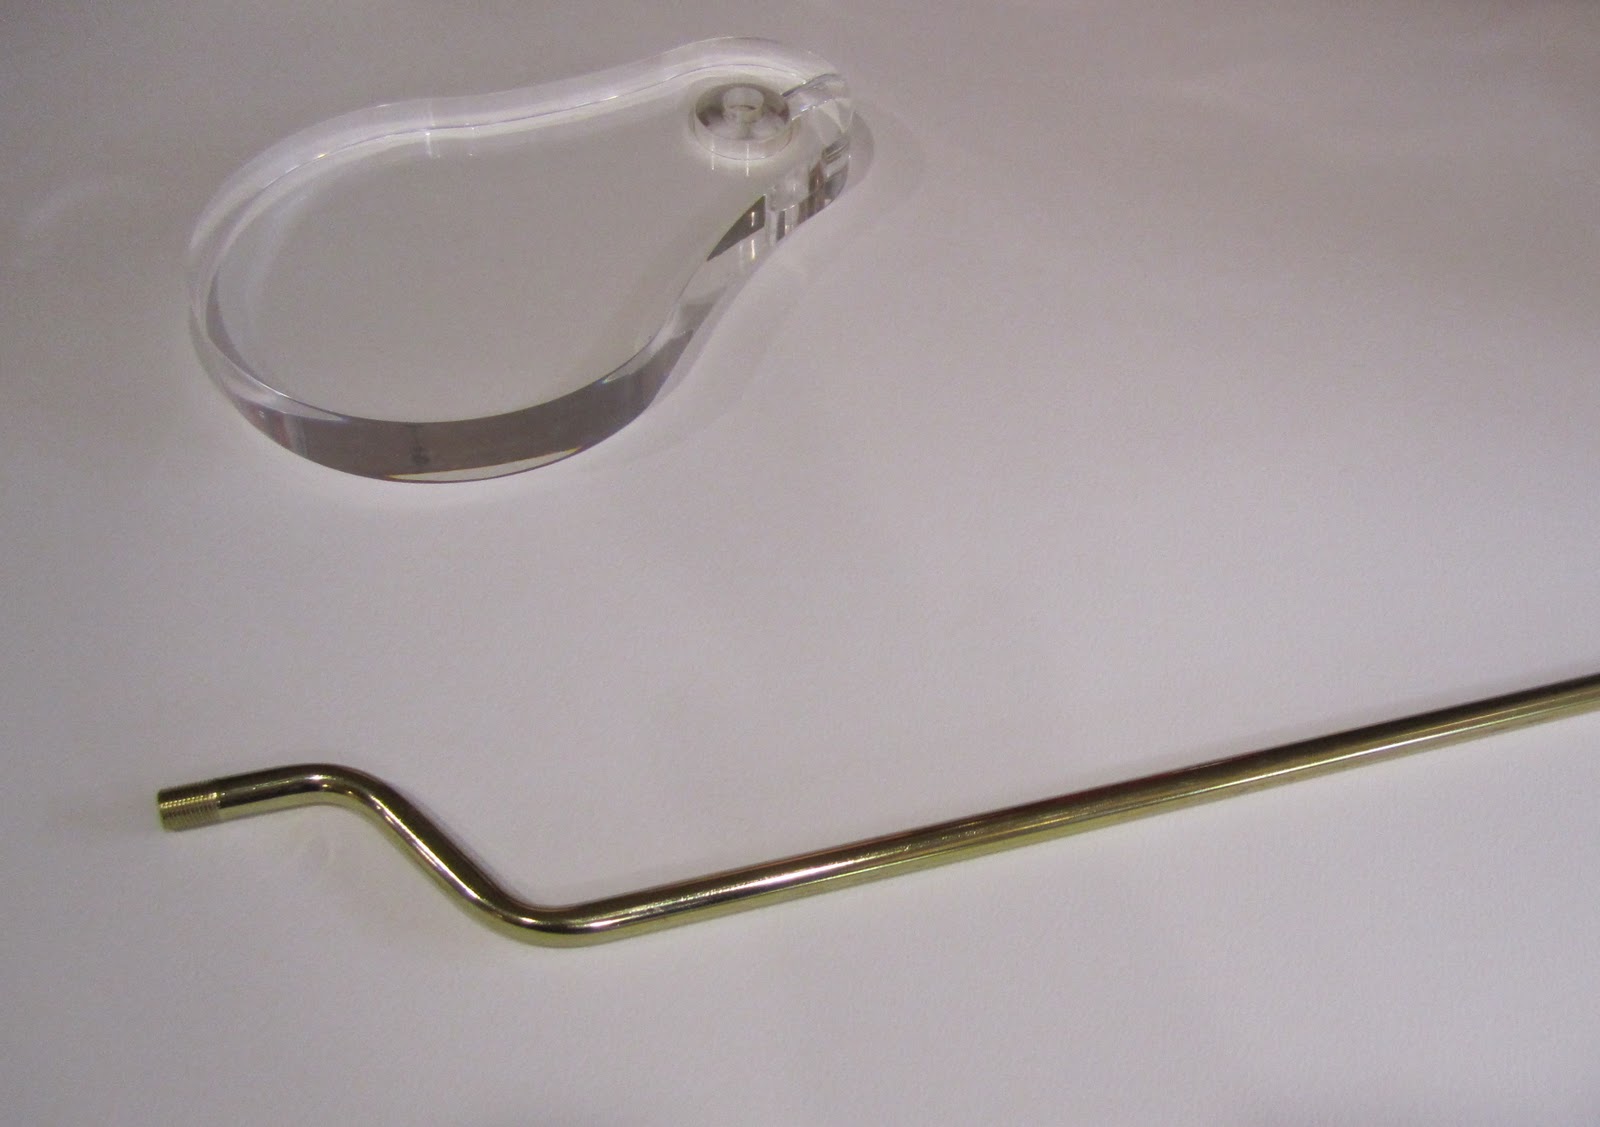
I had the lamp bases made by Ace Acrylics, an acrylic company in Dallas. Make sure to ask for a teardrop figurine base. I made mine 1" thick and about 1" larger in diameter than the figurines.

I ordered all the lamp parts from Antique Lamp Supply. You will need:
The first step is to refinish the brass figurine pipe and 2 of the knurled brass locknuts. I tried to spray paint mine with a chrome finish paint and it kept on dripping no matter how light I applied the paint! In the end, I decided to silver leaf the pipe & nuts instead…they turned out looking a lot better!

Now you are ready to assemble the lamp…this is the order of the parts going from the bottom up!
Below the hole in the base…
20711 – Knurled Brass Locknut
22702 – Steel Lock Washer
22720 – Steel Washer
Above the hole in base…
22702 – Steel Lock Washer
20711 – Knurled Brass Locknut –Refinished
At the top of the lamp…
20711 – Knurled Brass Locknut
22702 – Steel Lock Washer
Harp Base
40207 - Lamp Socket

Once everything is assembled on the base, you will need to thread the clear lamp cord up through the bottom of the base and out the socket. Tie a loose knot about 2 inches below the top of the wires. This is to keep the wires from easily being pulled through once the lamp is assembled. Connect the two wires onto the two screws of the socket set being sure that they are secure (it doesn’t matter which wire goes to what screw).

Next, push up the knot of the lamp cord to just below the lamp socket and gently pull the extra cord through the bottom of the lamp.

The next step to assemble the lamp is to put the socket cover over the lamp socket snapping it into place (the slit should be facing down and to the front for the switch). Finally, you can glue your figurine to the base using appropriate glue for both materials.
The last steps are to install the harp into the harp base and add your choice of lamp shade and finial!

If you get lost…you can go to http://www.antiquelampsupply.com/howto.php and click on the How-To -Book of Repairing, Rewiring, and Restoring and look at page 27-31.
Enjoy!

December 18, 2010

Master Bedroom Plans

I am ever so slowing finishing up decorating my Master Bedroom. We finished making the upholstered bed this summer and now I just need to add in all the finishing touches…drapery, lamps, artwork/mirrors, and reupholstering my Milo Baughman swivel tub chairs. I got them from my favorite source for a steal…eBay! I think I am going to do a soft blue-gray velvet or chocolate brown velvet. I’ll have to make a trip to my favorite discount fabric store and see what catches my eye!
Since I am a teacher, I have the next 2 weeks off and I plan on making the most out of every single day! I have lots planned today and can’t wait to start on all my projects on Sunday!
Stay tuned for detailed info on how-to make an upholstered bed and how-to make the Blanc Chine lamps!


My Baughman chairs BEFORE!
Modern Oasis Master Bedroom